When we bought our house a couple years ago, we knew the downstairs bathroom needed some work. We just didn’t realize how much work it was going to take.
Remember Becky’s post about taking a bathroom from drab to fab? Yeah, none of those would have helped this space!
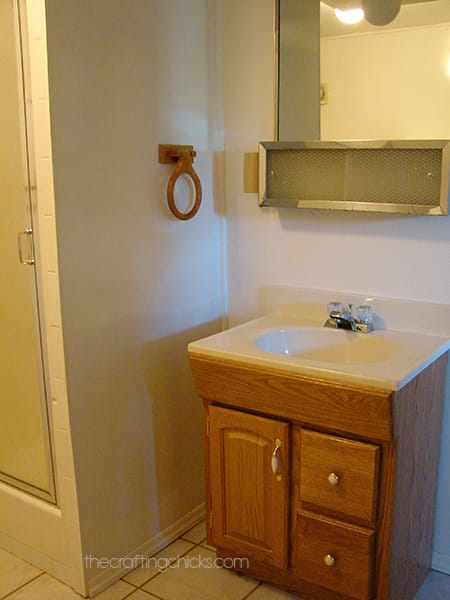
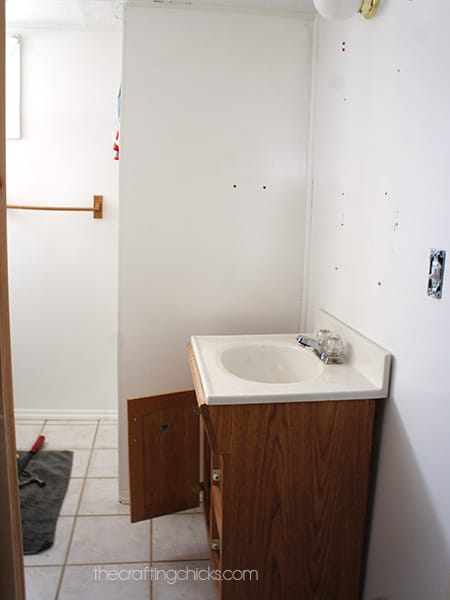
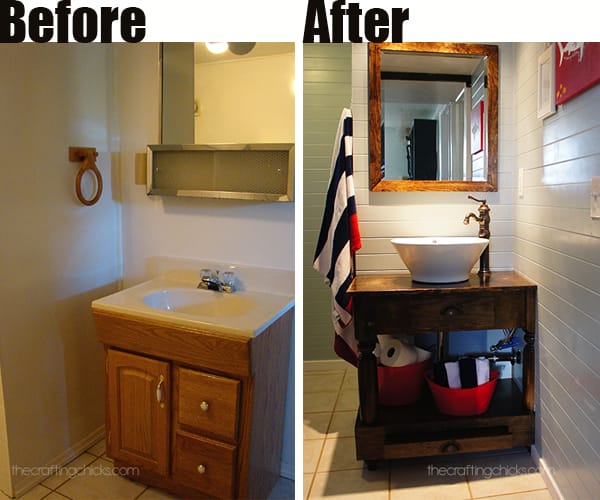
Here’s where we started. And a list of visible offenses that came with it:
•ugly white shower board covered every wall
•the dryer vent ran through the window, which was covered with a board blocking all light
•the door was a ripped accordion sliding door, providing very little privacy •what little privacy there was left was taken care of by opening the closet doors in the family room, giving a straight shot look into the bathroom as well as holes in the back wall that could be looked at through the storage room
•this vanity did not sit flush with the wall, and therefore the drain was not secure
It is a small bathroom and also where the washer and dryer are. Because of this we thought a stacking set of front load washer and dyer would give us more room and we decided to wait to tackle this room until we had the funds. There were plenty of other projects that kept us busy in the meantime.
The first things we did were to take down the mirror + medicine cabinet combo and hang a plain mirror, move the light switches to a more functional place, and replace the window, letting light in. We lived with these minor upgrades for a few years. Unfortunately for our guests, this is the bathroom we let them use.
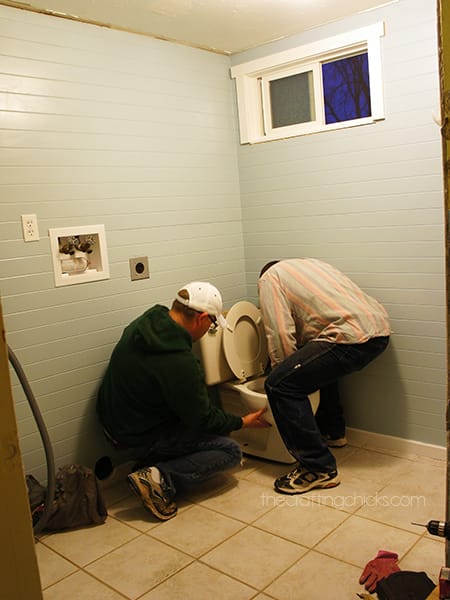
Last fall my parents had planned a trip to help us with a house project, but a few days before they came we noticed that the sink had been leaking and had flooded through the wall and into the next room. Suddenly this bathroom was moved from the “when we have the money list”, to a more urgent matter and it became our project for the weekend.
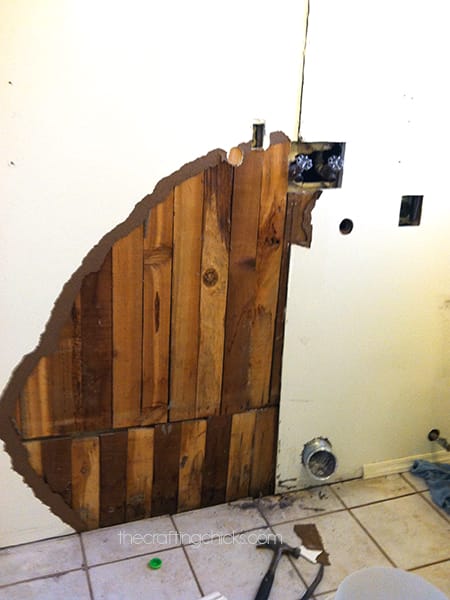
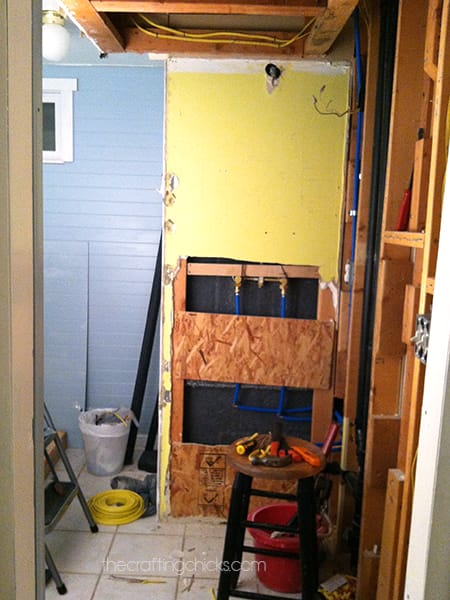
I’m going to be honest here, while I realized this bathroom was bad I didn’t think it would take too long. My plan was to take down the shower board and replace it with the vertical paneling and be done. Look what we found when we started taking off the shower board. Lovely cedar planking. And behind the planking was the sheetrock. When it was all said, we removed 3 layers and gained a few more inches of bathroom space. I’m pretty sure the air quality in the room immediately improved with each layer that was taken down.
The first half of the bathroom went fast and, together with my parents, we were able to get it completed and the washer and dryer moved back in that weekend. The other side of the room was a bigger challenge. We decided to move the vanity over to the corner to make the door way a little wider. And because of that we had to re-plumb the sink, and then because the vanity was moved, we moved the outlets to be closer to it. (And when I say we, I really mean my husband.) This entailed ripping out the ceiling, to discover a leak from the bathtub upstairs and good deal of mold. So while it was a pain, we are glad the leak is fixed and the mold is gone. Since the ceiling was gone we installed can lights above the vanity as well. I should mention that our neighbor is a plumber and he offered a lot of help through this all.
And now let’s talk about how we solved some of the problems and put the bathroom back together.
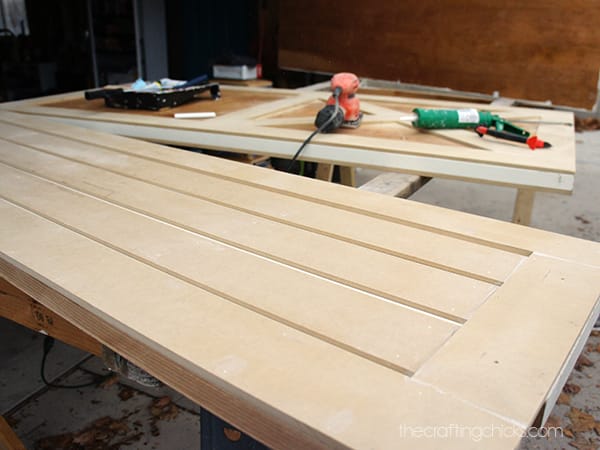
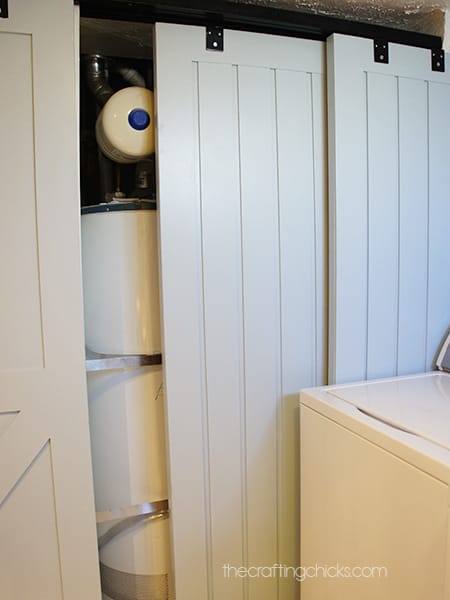
We made 3 sliding barn doors to cover up the water heater/furnace and act as the bathroom door. My dad picked up sliding closet doors and we added mdf trim to them. I should mention that my dad is a welder and without him, we wouldn’t have been able to do these doors on our own. He built the track and engineered it to hang on a very difficult ceiling.
The 2 doors on the right stay shut, except to access the furnace or water heater. They are hung on a two-track system which allows us to open either side. The door on the far left is the bathroom door. These doors solved a major dilemma of a bathroom door and provide privacy from the family room game closet.
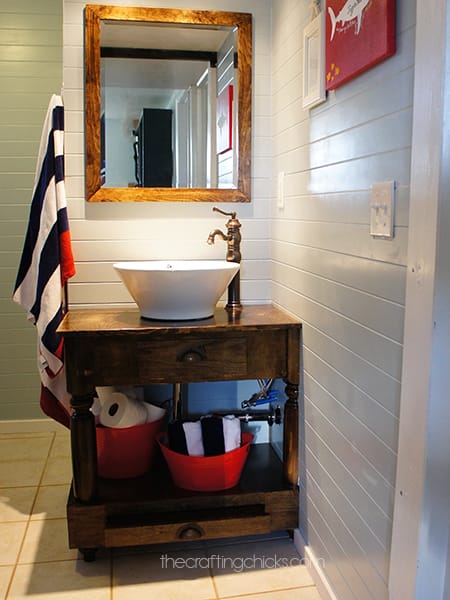
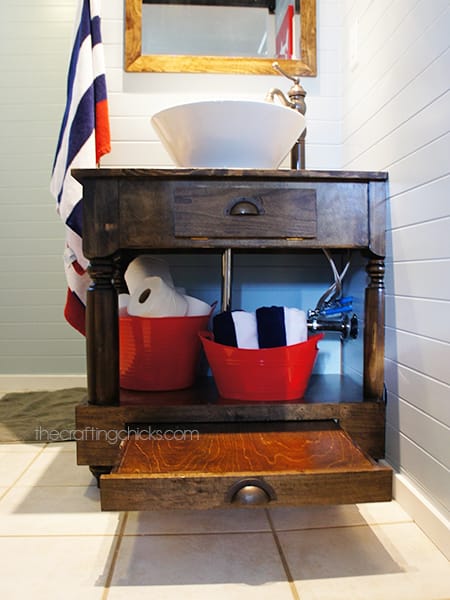
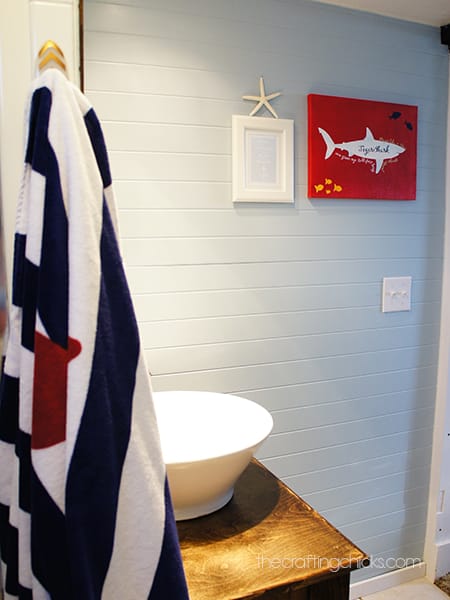
My parents built the custom vanity. They are quite the pair. My mom has a woodworking shop above my dad’s metal working shop, so together they can build just about anything. I asked for a very simple 4 straight legs, open with 1 shelve vanity, and this is what I got.
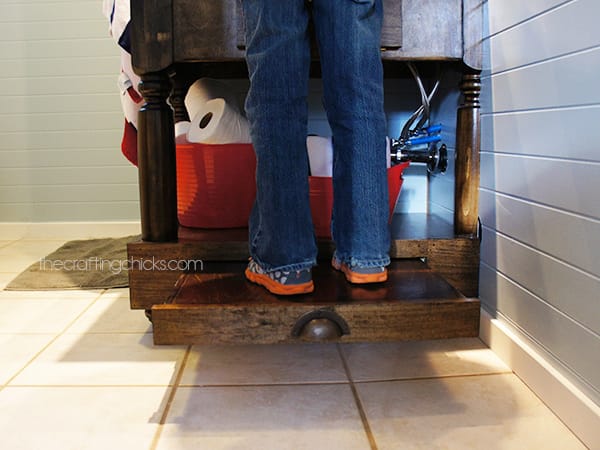
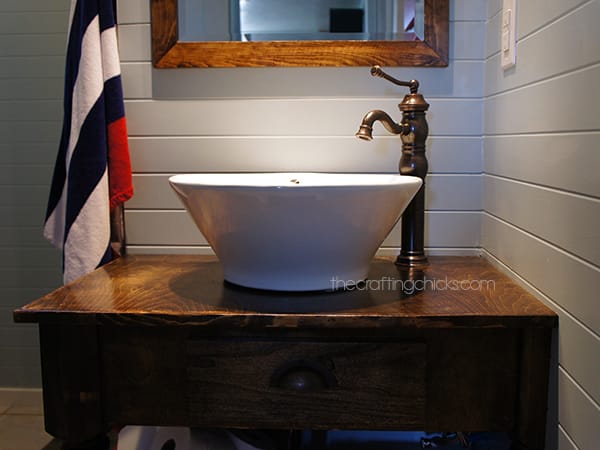
It includes a fold out drawer for toothbrushes and, my kids favorite, a pull out step for their toothbrushing and handwashing needs! I stained the vanity and sealed it with 3 coats of polyurethane. It’s been 3 months and still looks brand new, despite the toothpaste I scrub off of it daily. We were hesitant to leave the top as wood with kids using it, but we’ve been very happy so far.
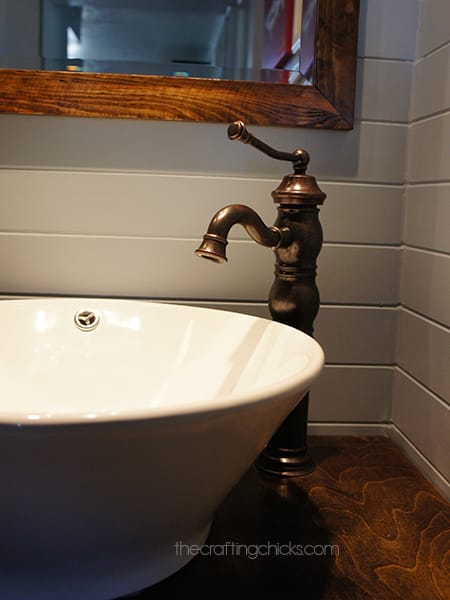
I’m in love with the sink and faucet. I thought the vessel sink would be a fun way to add some personality to this little bathroom and found this one at a local outlet store for a good price.
We didn’t find a lot of options locally for a faucet that was tall enough for the sink, so we ended up ordering this one from Amazon.
When it was all said and done we replaced everything but the shower, flooring and the washer and dryer (those are still on our list). What we ended up with is an inviting room that we are proud to let guests use.

you guy are awesome!!!!! It proves to me that if you do something, do it right the first time. It turned out better than I thought it would, there were major problems with the crooked walls and ducting that we worked around Chod was the real hero.
Wow! It looks fantastic. I absolutely love the wood countertop. I never would have thought to do that, but it looks really good.
Wow – this is gorgeous! I love the look of it and especially the pull out step 🙂 So great!
That’s what I was looking for. Very nice blog indeed, thank you admin
[…] Custom Vanity from The Crafting Chicks […]